Charly, my Ender 3 Pro, now has auto bed leveling, and I’ll guide you through the odyssey which was the last two days, where I had to trouble shoot the thing.
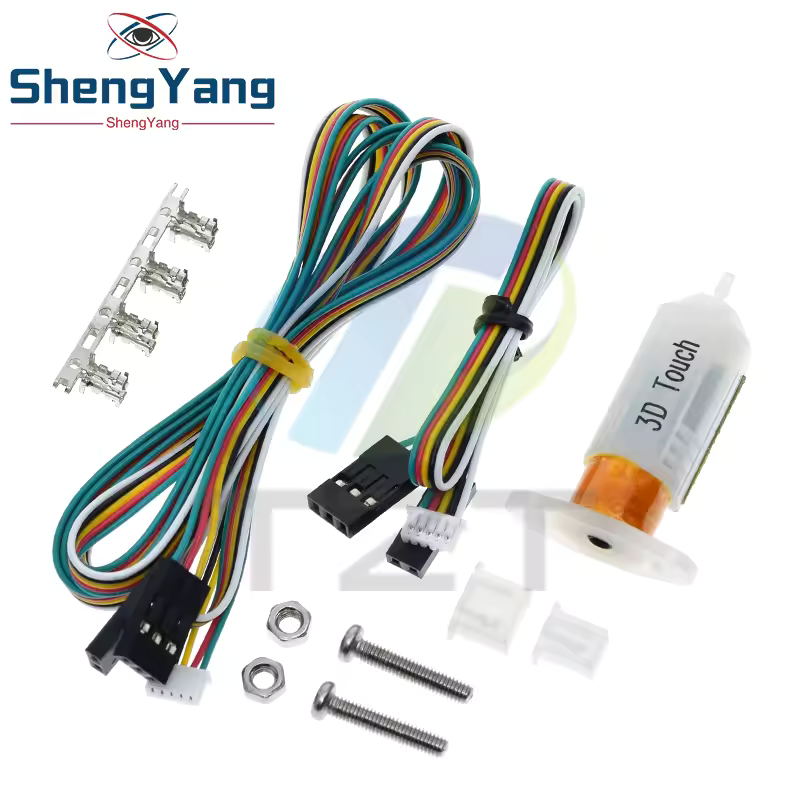
It all began with a steal offer on AliExpress, some cheap BLTouch clone, the TZT 3D Touch Sensor from ShengYang: https://www.aliexpress.com/item/1005006042275346.html
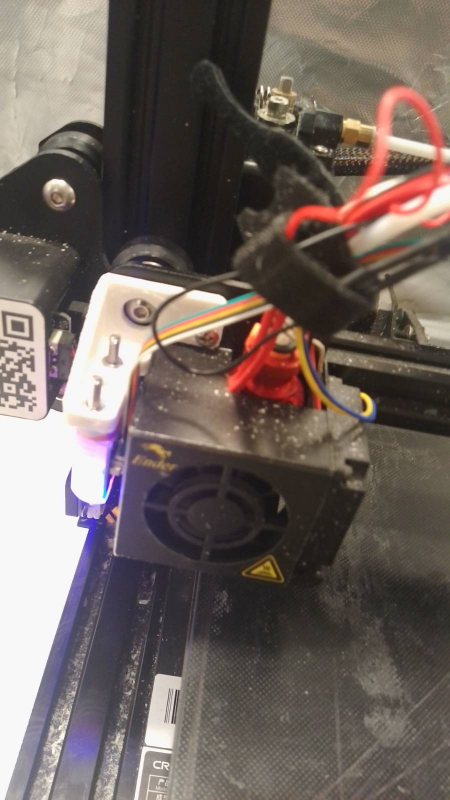
I managed to hack together some connection to the probe port on my 4.2.7 board, making the non polarized pin header connectors coming with the sensor stay in the socket using some duct tape for lateral force, or in other words: I made it thicker.
You could of course also go through the trouble of getting the proper Molex connector with polarity knobs and wait another few weeks until it arrives, then crimp it.
But when you’re as dangerously happy as Chris Boden and me (Wanna see something cool?), you just assume that it’s your 3D printer, and with anything else fun in your life, it’s meant for grown ups who can remember how the polarities are meant to be set up.
It’s written on the board after all. Ground goes to ground VCC to VCC and the signal to the servo, that’s the IN.
The only thing those folks in the factory seem to have messed up was the polarity of the wires for the output signal from the Hall sensor, because for some reason I only got it to work after I did switch black and white (white is supposed to be the signal) going to Ground (G) and OUT (where the signal from the Hall sensor is supposed to come from)

You’ll need a Marlin build for your printer, where the BLTouch feature is enabled, then you can try hooking the sensor up and select Deploy in the BLTouch section of the config.
When the little nob of your 3DTouch probe suddenly looks much more happy to see you than before, then you’re in luck, and you at least already got the servo working, the next part is a bit trickier.
Outside of some specific protocol, the probe will have it’s red error LED start blinking like a disco light, but that’s not very informative anyway.
In order to find out, whether the probe properly communicates to the board, that it has been triggered, after it shrank back after you touched it, quicker than me on a cold Swiss winter day (trust me, that place was cold) you’ve got to hook up your little printer to the USB of your computer and run the following G-Code command M119
You can either do that using pronterface or picocom
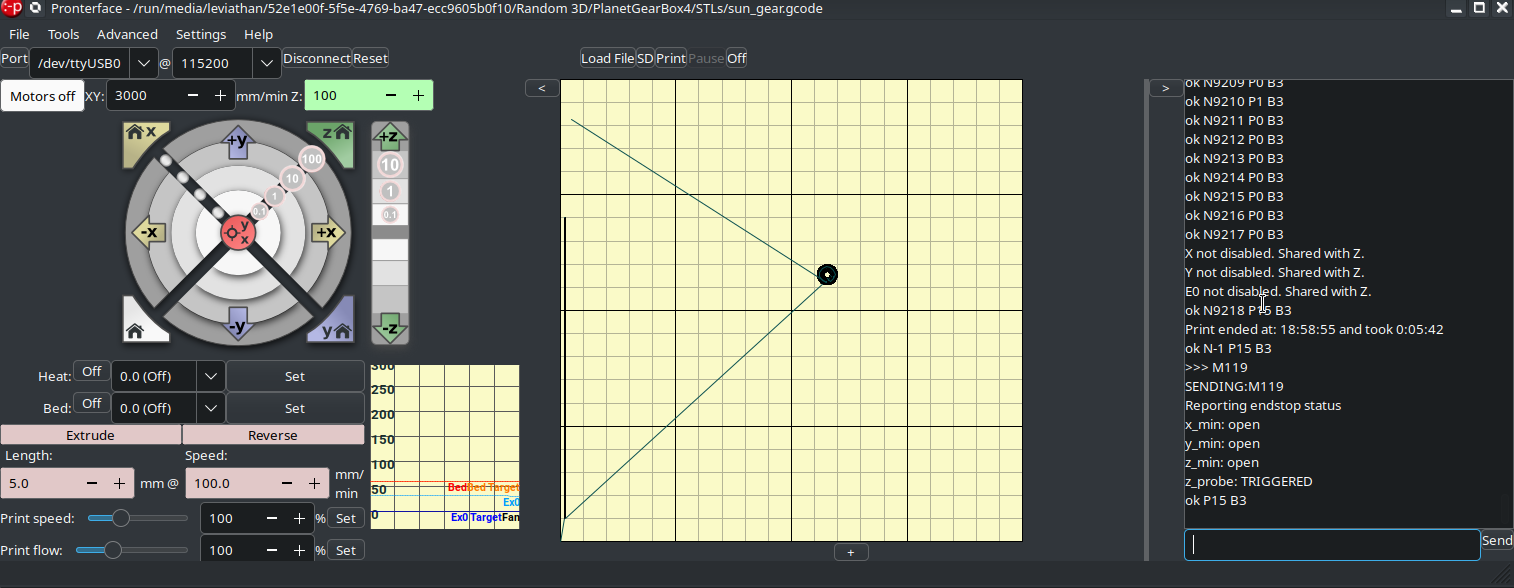
When after retraction M119 tells you, that the z_probe is in the state of basically every liberal ever since orange man won, then you’re in luck and your probe has been successfully installed.
It’s always a problem when you buy something from China during Chinese new year, because around that time there’s lots of Baijiu involved so a batch can have some polarities messed up and it’s your job to figure that out.
And that’s pretty cool 🙂